How to Write a Resume: A Complete Guide
Write a resume in ten steps: choose a format, write the summary, turn duties into results, get past the ATS, and tailor it for each job.

You can write a solid resume in one evening if you build it in the right order: pick a format, fill in each section from the top down, then run the checks that decide whether anyone reads it. This guide walks through ten steps in that order; the video above covers the main ones in two minutes. Open your current resume, or a blank document, and work through them one at a time.
If you’re starting from an old resume, don’t try to fix it line by line. Use the steps to rebuild it, and pull across only what still earns its place.
What a resume is actually for
A resume has one job: to get you an interview. It is not a full account of your career, and it does not need to be. It is a short argument that you are worth half an hour of someone’s time.
That framing changes what belongs on the page. Anything that supports the argument stays. Anything that is merely true about you, but does nothing to advance it, comes off. A recruiter spends seconds on the first pass, so every line is competing for a share of that attention.
1. Choose the right format
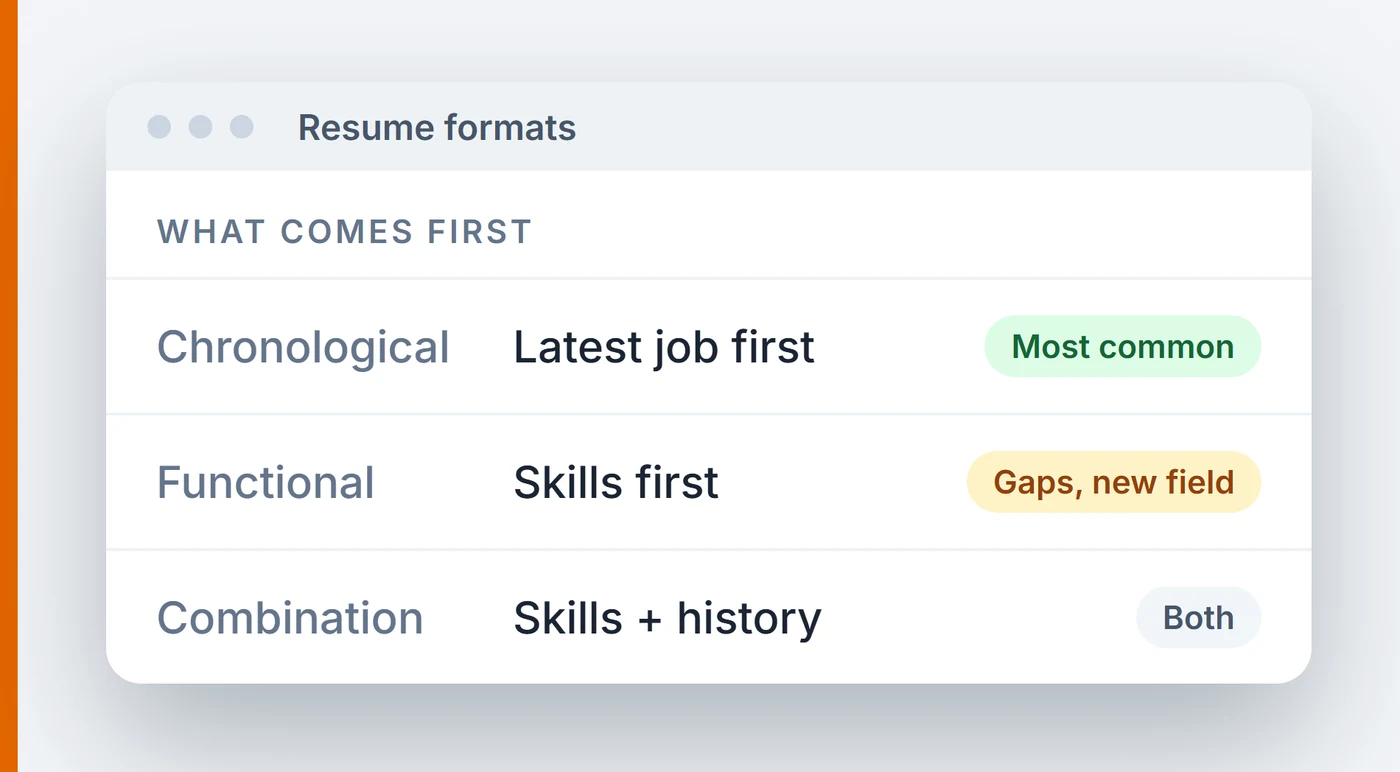
The format decides what the reader sees first: your work history or your skills. There are three to choose from.
Chronological
Your work experience comes first, in reverse chronological order: your most recent job at the top, working back from there. This is the most common format, and the right one if you have a steady work history in the field you’re applying to. It lets an employer see how you’ve grown from role to role.
Functional
Your skills and accomplishments come first, grouped by theme, with a shorter work history below. This suits you if you have gaps in your work history or are changing careers and want to lead with transferable skills. It puts your relevant qualifications up front.
Combination
A skills section first, followed by a full work history. This works when you have a strong history but also want to point to specific skills or achievements before the reader gets to your jobs.
If you’re not sure, choose chronological. It’s what most employers expect to see.
2. Add your contact details
The top of the page tells an employer who you are and how to reach you. Include:
- Your full name, clearly the largest text on the page.
- A phone number you actually answer, with a professional voicemail greeting.
- A professional email address, ideally built from your name.
- Your location (optional). A full mailing address isn’t needed. City and state is enough, and it helps when you want to show you’re local or when the job involves relocation.
- Your LinkedIn profile (optional). Include the URL only if the profile is up to date and matches your resume. Our LinkedIn profile tips cover what to check first.
A finished header can fit on two lines:
Jordan Lee
Columbus, OH | (555) 555-0142 | jordan.lee@example.com | linkedin.com/in/jordanlee
3. Write a short summary
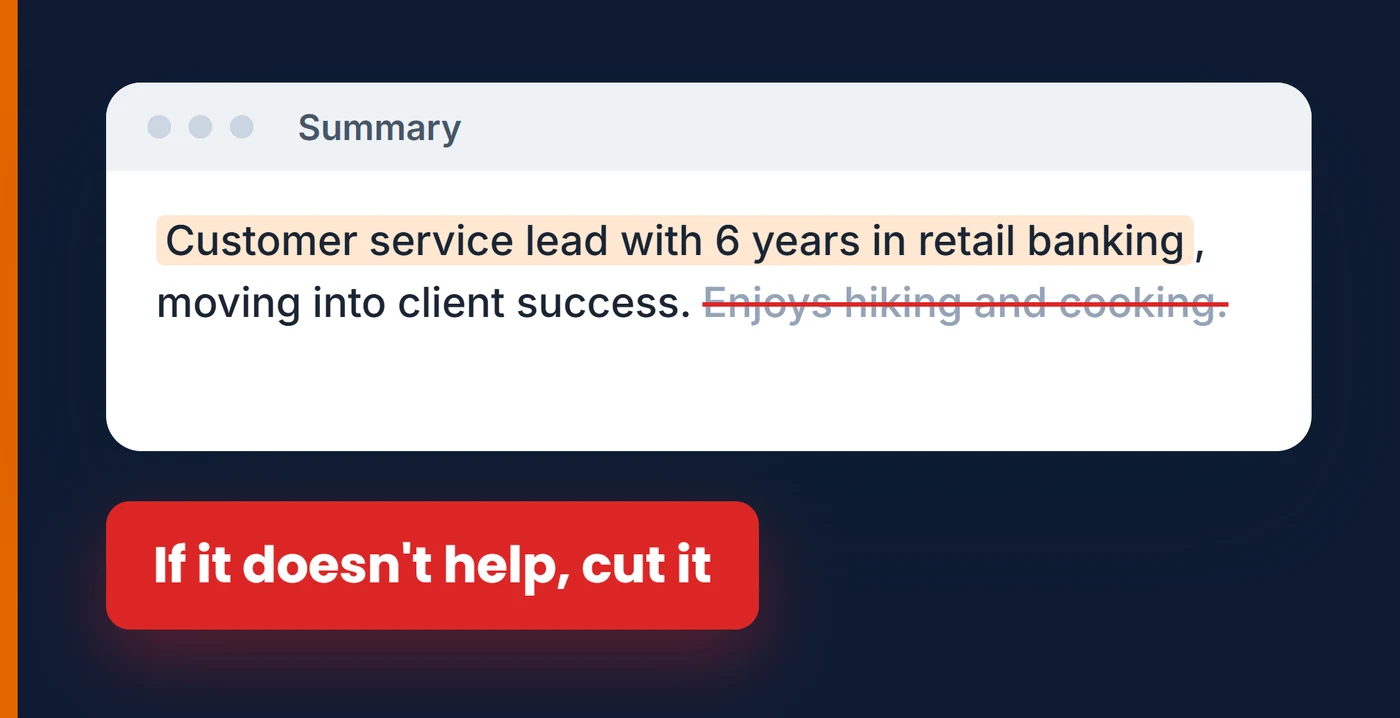
The summary sits just below your contact details and is the first thing a reader takes in. In two or three sentences, it says what you do, what you bring to this kind of role, and, if it helps, where you want to go next.
A summary that could belong to anyone does nothing:
Hardworking and motivated professional seeking an opportunity to use my skills and grow with a great company.
A specific one tells the reader why to keep going:
Office manager with eight years running scheduling and billing for a busy dental practice. Set up the booking system the practice still uses and trained every new front-desk hire on it. Looking to move into healthcare operations.
Lead with the skills and experience that match the job you’re applying for. A line about your career goal is fine if it connects to the role, as the last sentence does above. Anything that doesn’t help make your case, such as hobbies or a list of personality traits, comes out.
4. Show results in your work experience
This is the section most readers spend the most time on. For each job, give your title, the company name, and your dates of employment, so the reader can follow your timeline at a glance. Use the same date format for every role.
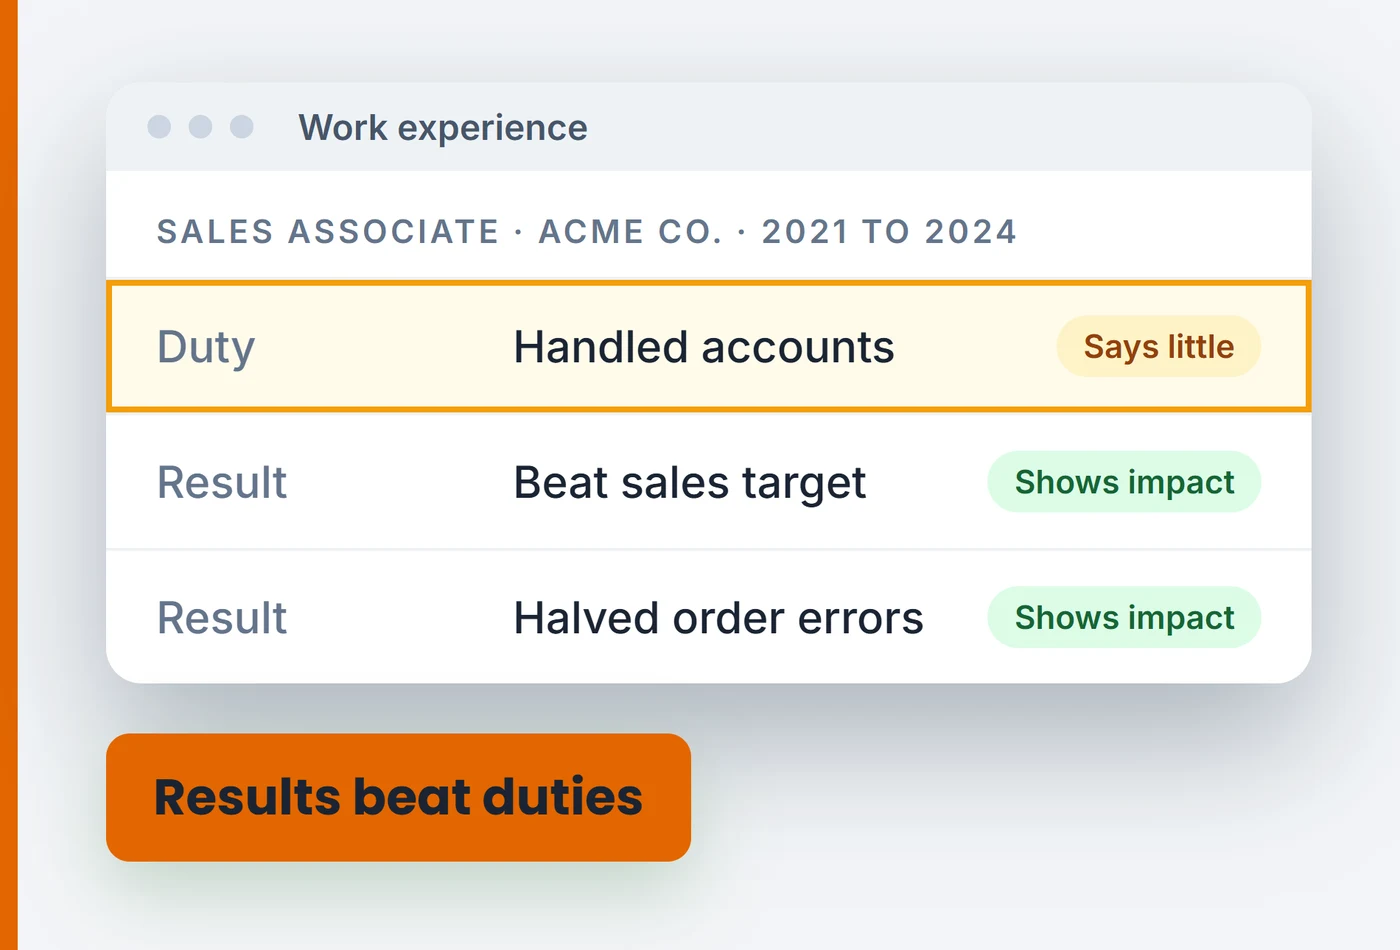
Under each job, write a few bullet points. A short description of your responsibilities is fine, but focus on the tasks that relate to the job you want. Then go further: say what changed because you were there. Did you beat a sales target, save money, cut errors, or finish a project that mattered?
Compare two versions of the same bullet:
- Before: “Responsible for handling customer accounts.”
- After: “Managed 40 customer accounts and beat the quarterly sales target three quarters in a row.”
And another:
- Before: “Processed online orders.”
- After: “Cut order errors in half by introducing a packing checklist for the warehouse team.”
The “before” lines describe the job. The “after” lines describe what you did in it. If you don’t have exact figures, use numbers you can stand behind, like team size, budget, number of clients or turnaround time, or describe the specific effect your work had. Start each bullet with a verb and put the strongest one first.
Writing duties instead of results is the first item in our list of 10 resume mistakes you didn’t know you’re making, which is worth a read once your draft is done.
5. List your skills
The skills section lets a reader check quickly whether you have what the job asks for. Group your skills under a few plain labels instead of one long list, so they’re easy to scan:
- Software: Excel (pivot tables, lookups), Salesforce, QuickBooks
- Customer service: complaint resolution, account onboarding, phone and chat support
- Operations: inventory tracking, vendor ordering, shift scheduling
Include a mix of hard skills (technical or job-specific abilities, like the ones above) and soft skills (communication, leadership, problem-solving). Soft skills carry more weight when your experience section backs them up, so for each skill you list, make sure a bullet somewhere shows you using it. If you’re not sure which of yours to put forward, our guide to strengths to put on a resume can help you choose.
List only the skills this job calls for, not every program you’ve ever opened.
6. Add education and extra sections
List your degrees with the most recent first. For each, give the degree type, your major or field of study, the institution, and its location (city and state):
Bachelor of Science in Accounting, [University], Denver, CO
If you’ve taken coursework or completed academic projects that relate to the job, add a line for them. This matters most if you’re early in your career and your work history is short.
After education, add any of these sections that apply to you and help your case for this job:
- Certifications and licenses. Relevant ones show your expertise and that you keep learning in your field.
- Languages. Note your level of fluency, especially if the job involves customers or colleagues who speak them.
- Professional memberships. Associations in your field show you’re involved beyond your own job.
- Volunteer work. It can fill a gap and show skills your paid work doesn’t.
- Publications or presentations. Articles you’ve written or talks you’ve given show expertise in your field.
- Awards and recognition. Academic honors, employee of the month, or any recognition tied to your work.
Skip a section if you have nothing relevant to put in it. An empty or padded section takes space from the parts that matter.
7. Get past applicant tracking systems
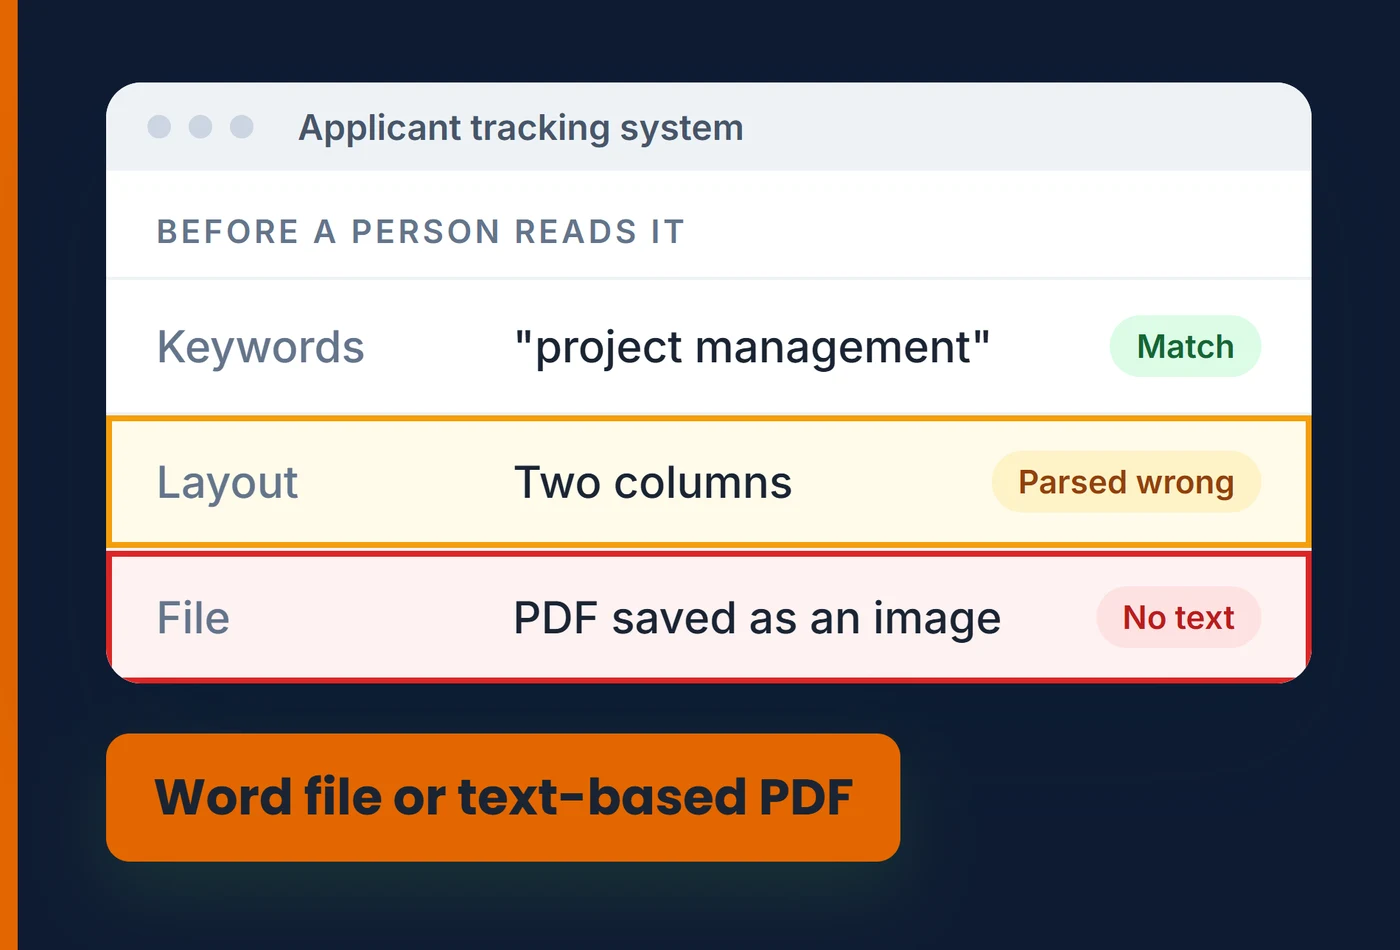
Most mid-size and large employers run resumes through applicant tracking software before a person reads them. The system parses your document into fields and scores it against the job description. A resume that reads beautifully but parses badly can be filtered out before anyone sees it.
A few things make the difference:
- Use the job posting’s own words. If the listing says “project management,” write “project management,” not “managed projects end to end.” The match is literal.
- Keep the layout simple. Multi-column layouts, text boxes, headers, footers, and tables often parse incorrectly or get dropped entirely.
- Use standard section headings. “Work Experience” and “Education” are recognized. Clever alternatives like “Where I’ve Made an Impact” may not be.
- Send a .docx or a text-based PDF. A PDF exported as an image contains no readable text at all.
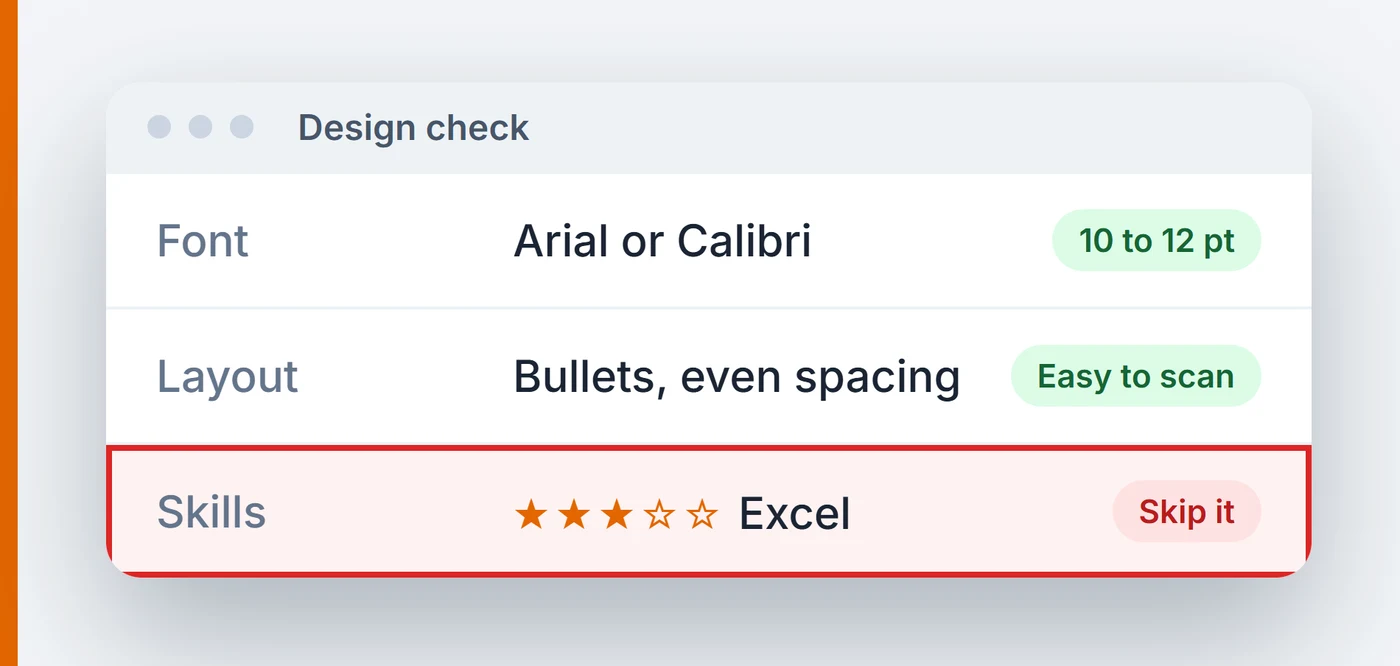
- Skip graphics for skills. Star ratings and skill bars convey nothing to a parser, and little to a human.
None of this means writing for the machine at the expense of the reader. A person makes the actual decision. It means not being eliminated before you reach them. For what happens once a person does open it, see how recruiters really read your resume.
8. Keep the design clean
A clean layout makes your resume easier to read and tells the reader you pay attention to detail. Decoration does the opposite: it pulls the eye away from your content.
- Template. Choose a simple, professional one. Avoid decorative borders, graphics, and unusual fonts.
- Font. Use a clear font such as Arial or Calibri, at 10 to 12 points for body text.
- Bullets and spacing. Use bullet points for responsibilities, achievements, and skills, and leave even spacing between sections so the page is easy to scan.
- Consistency. Use the same font, sizes, bullet style, and date format from top to bottom.
Some industries expect a strictly traditional look, while creative fields leave room for more design. Even then, keep your text as real text in a simple structure, so it still gets through the checks in step 7.
9. Tailor it for each job
One resume sent to every opening matches none of them well. Each posting asks for something slightly different, so adjust your resume every time you apply:
- Read the job description and mark the skills and qualifications it mentions most.
- Move your matching experience and skills to the top of their sections, and rewrite your summary for this role.
- Use the posting’s own keywords where they honestly describe your experience (step 7 explains why the wording matters).
- Cut or shorten anything that doesn’t relate to this position.
It’s easier if you keep one master resume with everything in it and save a tailored copy for each application. Most of the work is choosing and reordering, not rewriting from scratch.
10. Proofread before you send
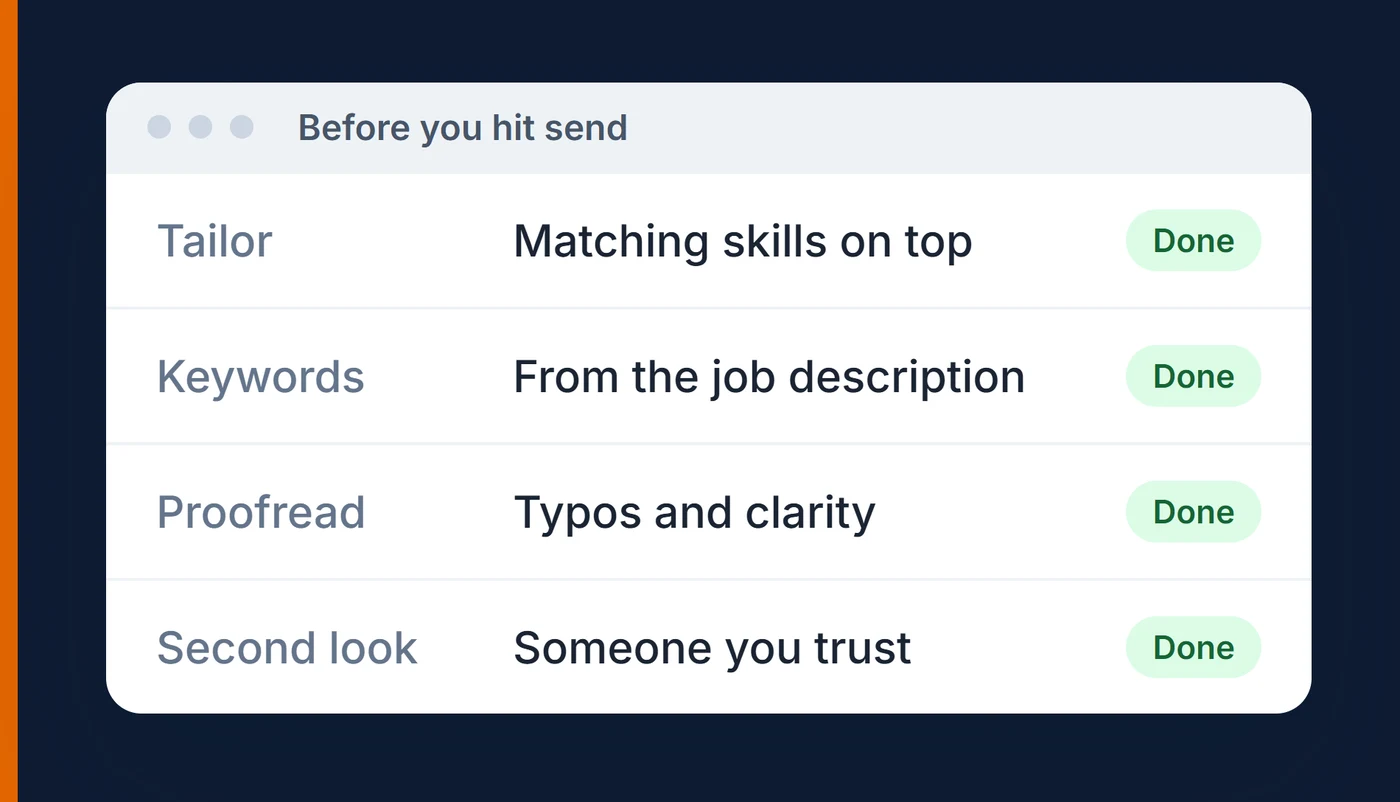
A typo in a document you had all the time you wanted to check makes a poor first impression and can cost you the interview. Before you send your resume, go through it in this order:
- Typos and grammar. Run spell-check, then read the resume yourself, slowly. Reading it aloud catches what your eye skips.
- Punctuation. Look for missing or misplaced commas and periods, and end every bullet the same way.
- Clarity. Make each section clear and concise. Cut any word that doesn’t add meaning.
- Tone. Write in a register you would use in a first meeting. Skip slang and contractions, keep the humor for the interview, and use a plain email address rather than a nickname. Confidence reads well; overstatement does not, and anything you claim on the page should be something you can talk through comfortably when asked.
- A second reader. Ask a friend, family member, or mentor to look it over. Someone else will catch errors you’ve stopped seeing and may suggest improvements.
Once your resume is ready, write the letter that goes with it. Our guide to how to write a cover letter that stands out follows the same approach, part by part.